Car Upgrades
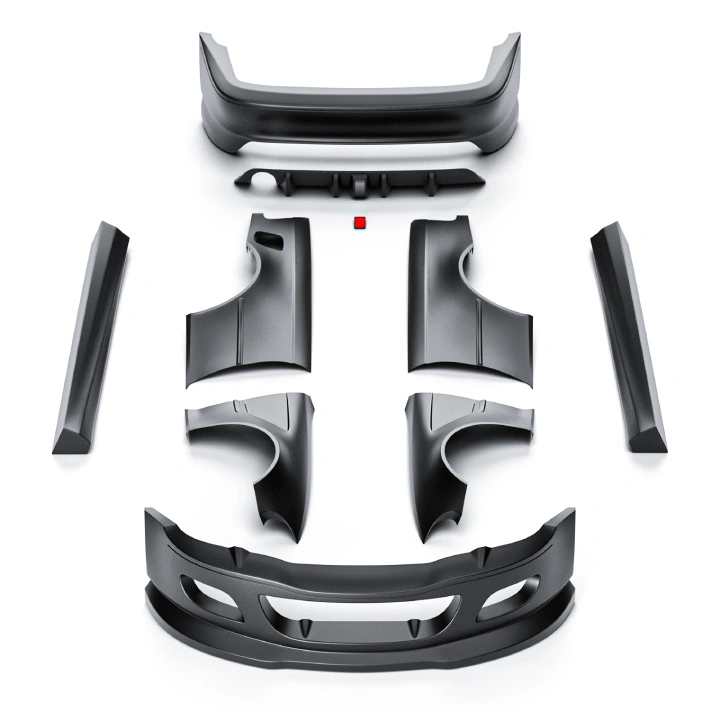 Body Kit Sets
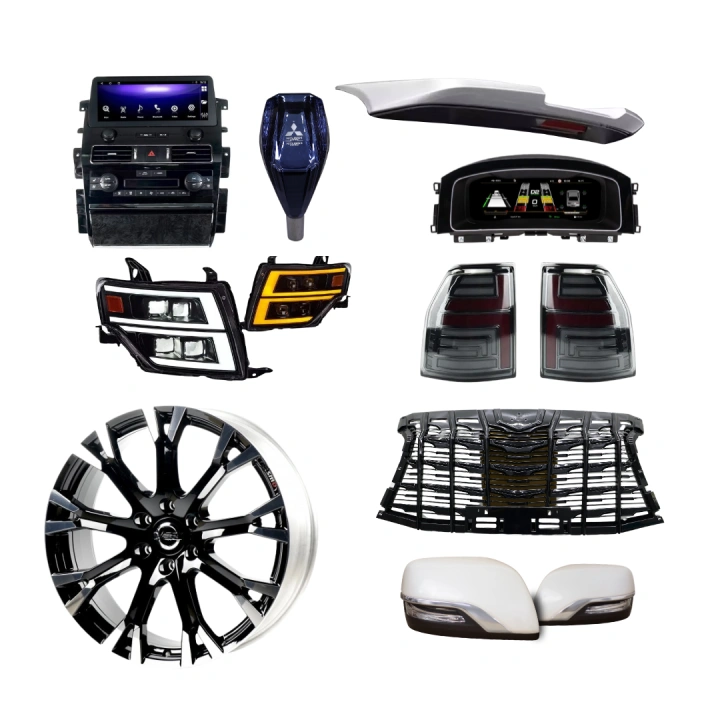 Accessories
 Services
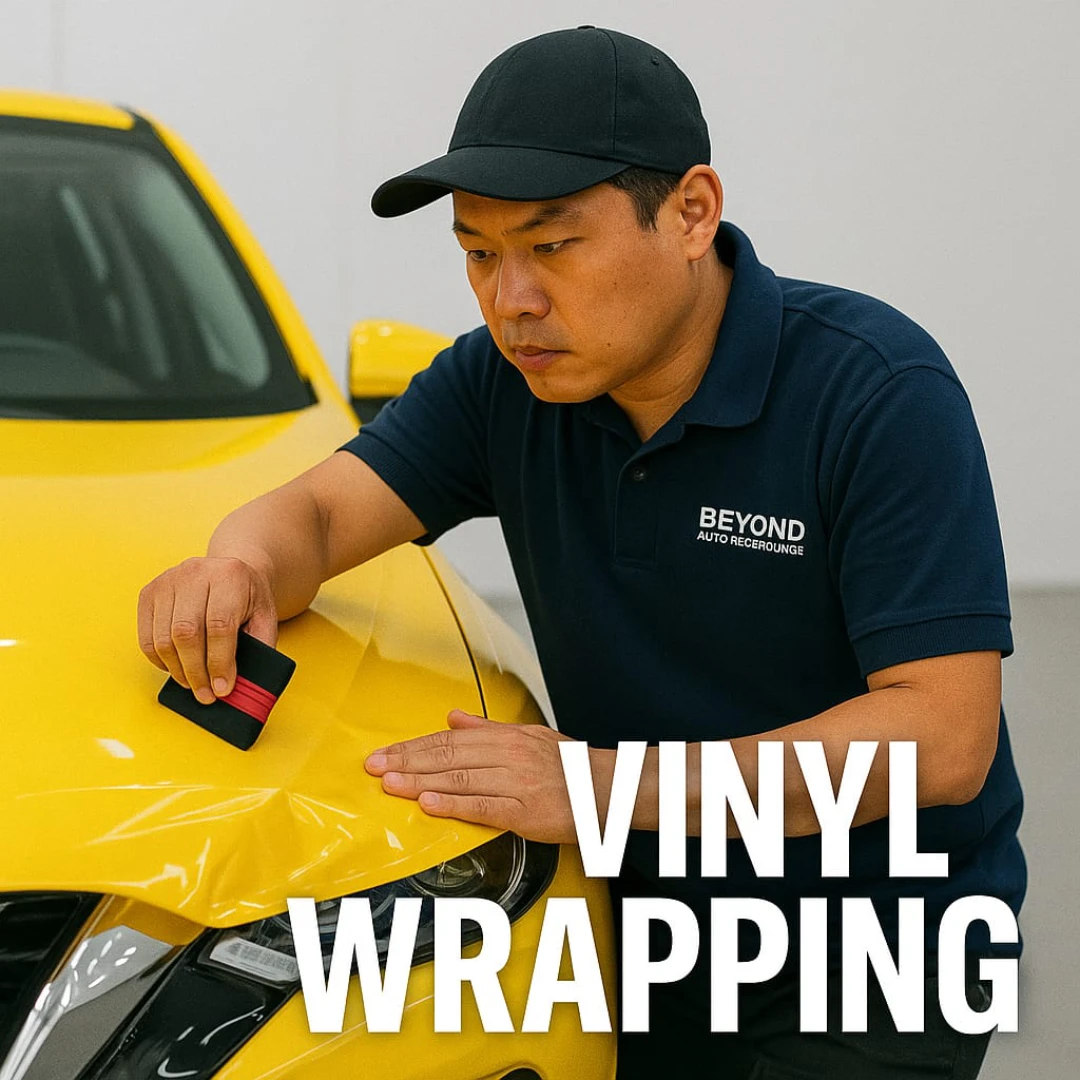 Vinyl Wrapping
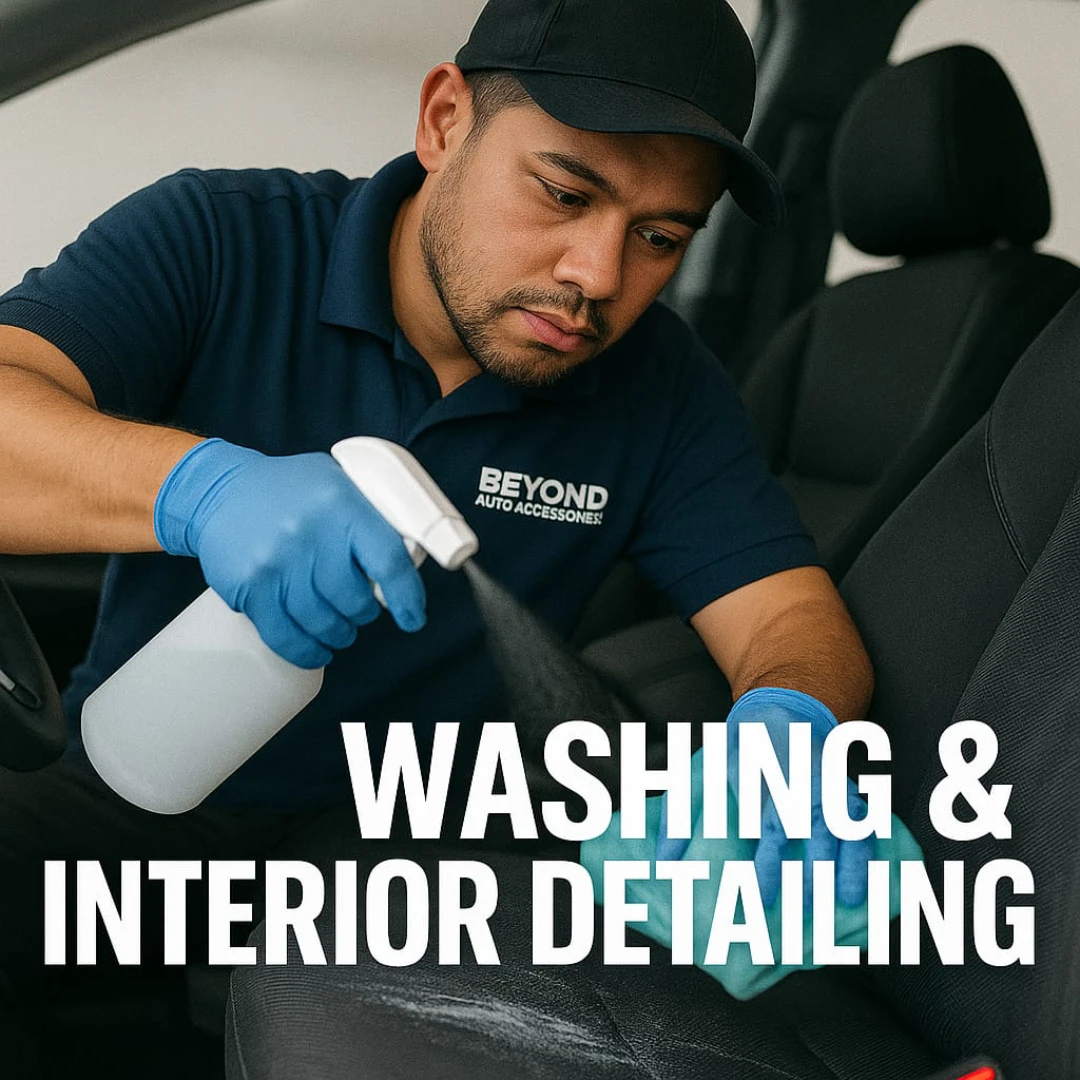 Washing & Interior Detailing
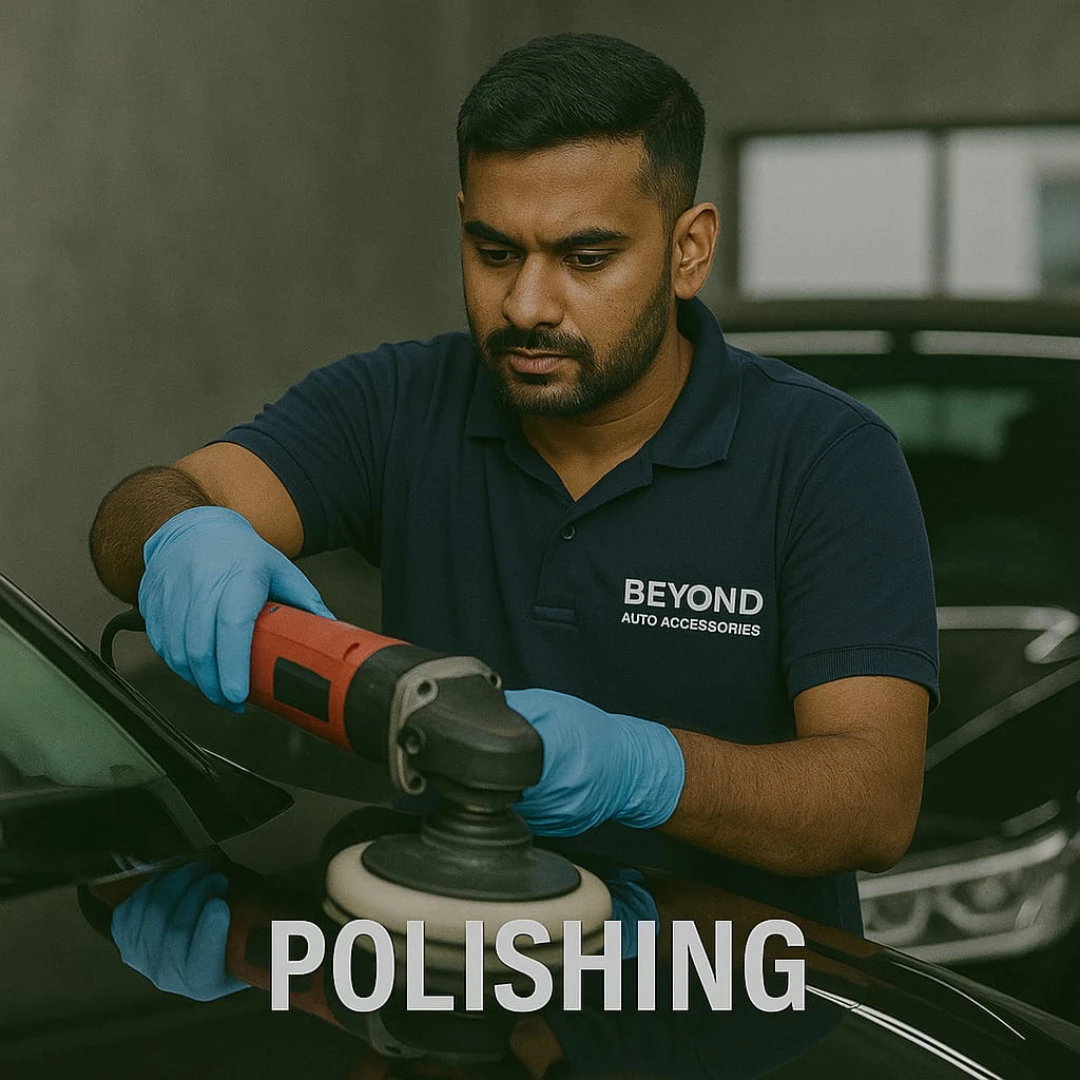 Car Polishing
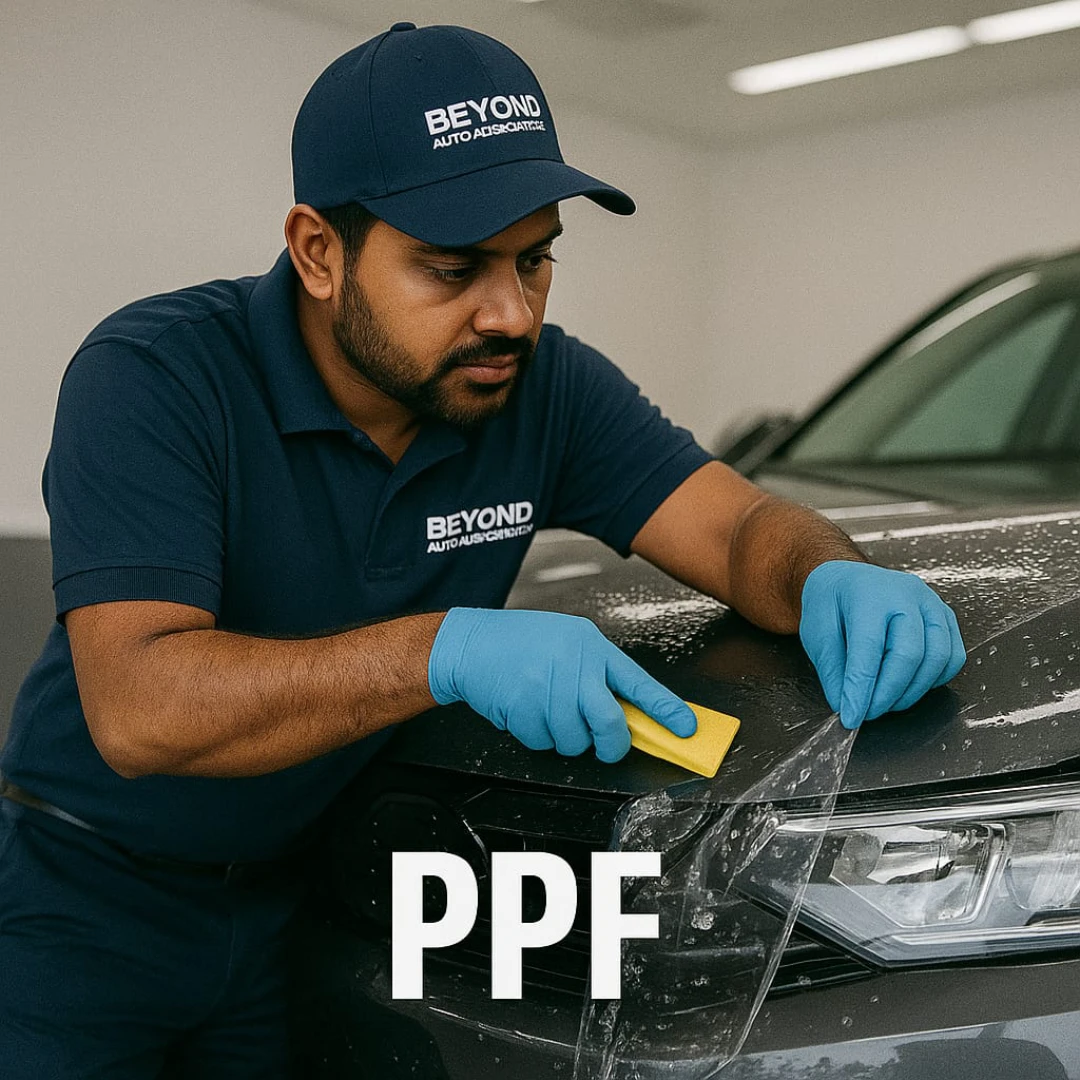 PPF
PPF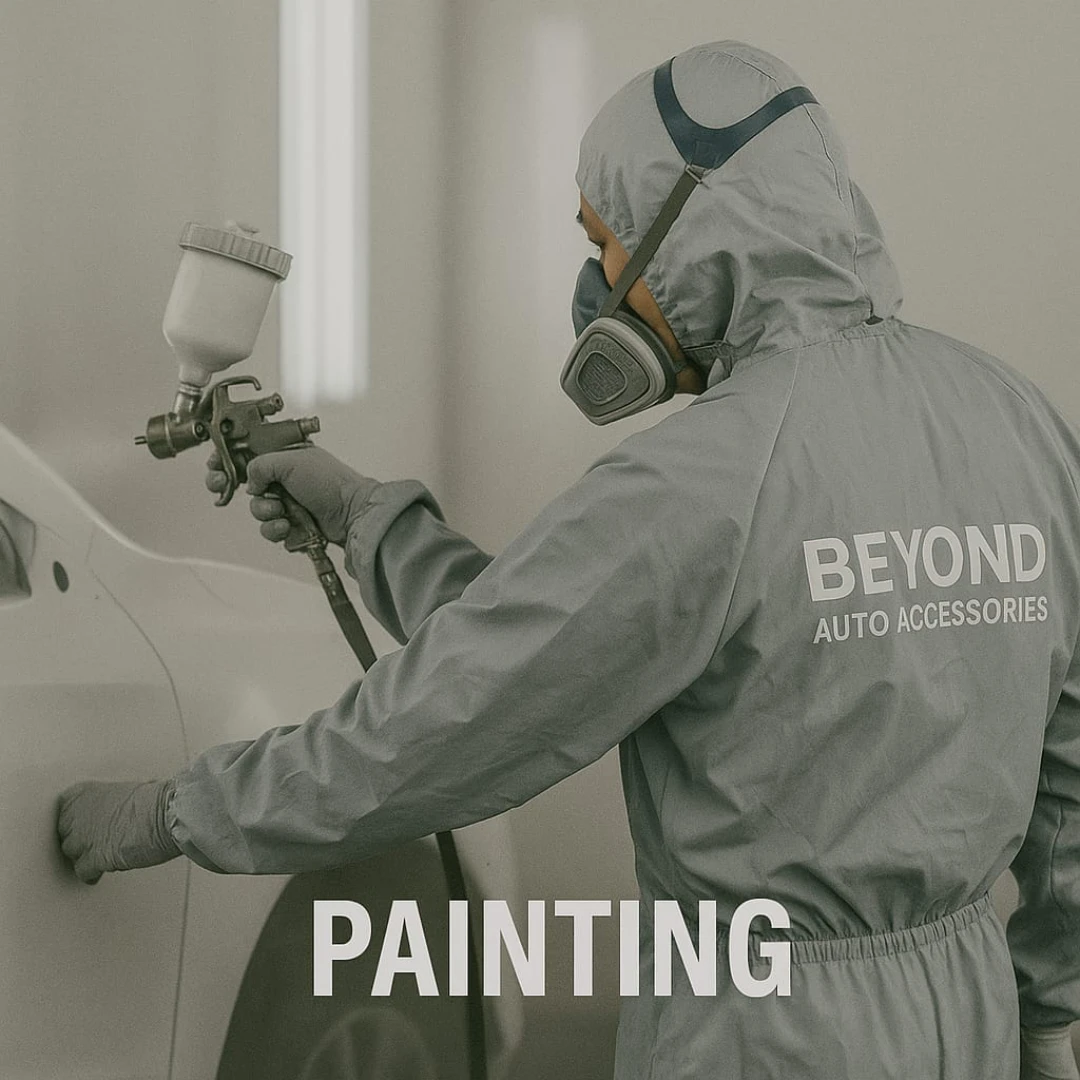 Car Body Painting
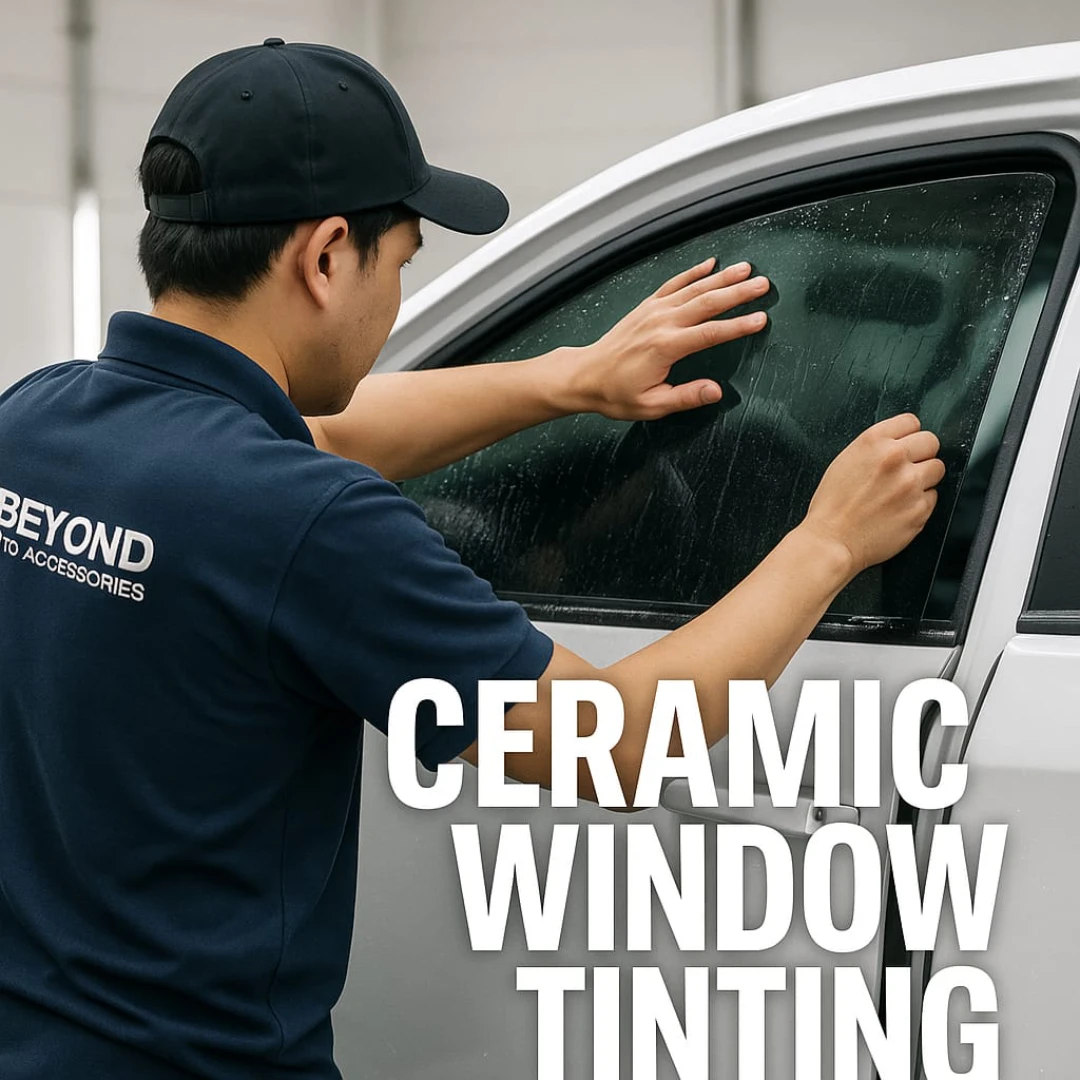 Ceramic Windows Tinting
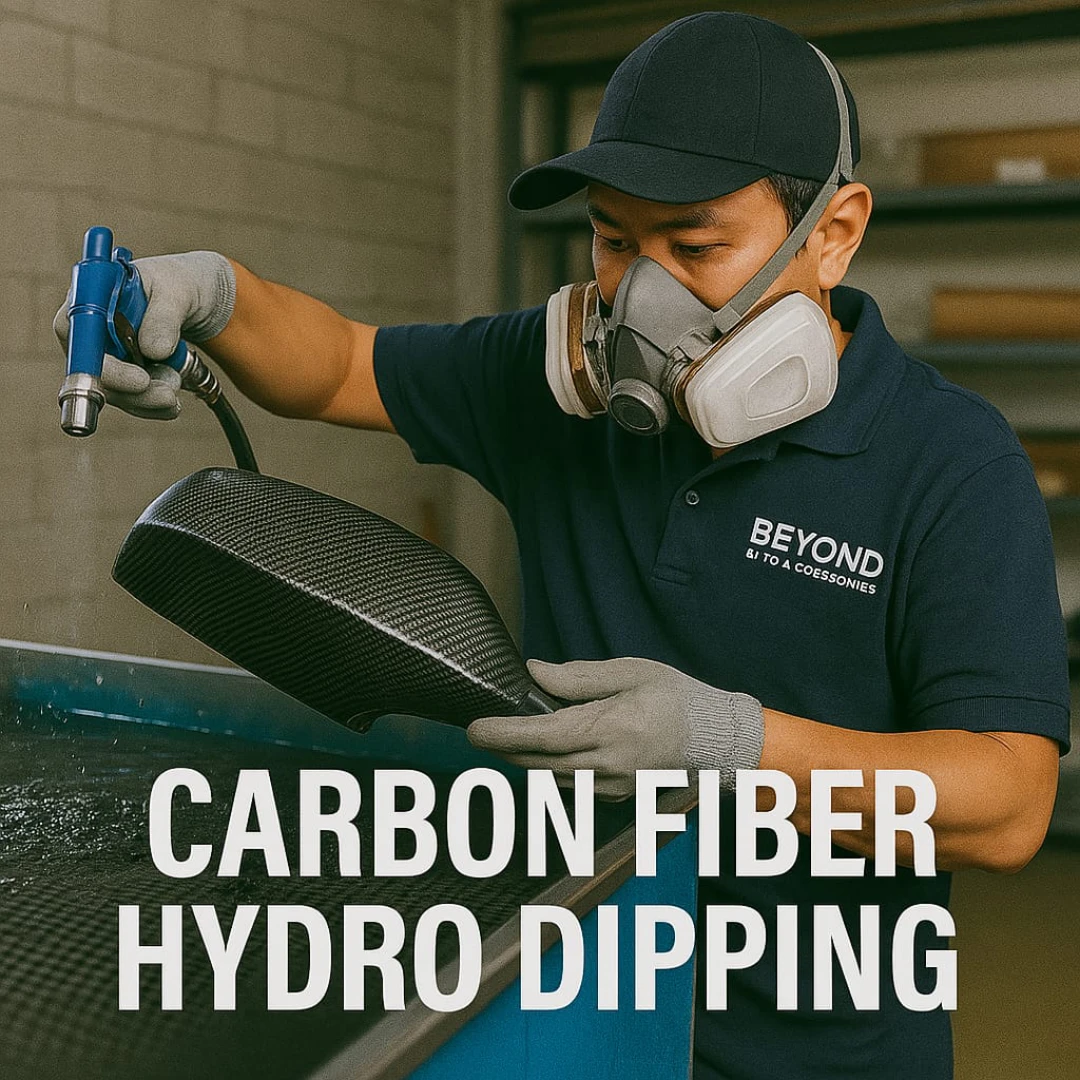 Carbon Fiber Hydro Dipping
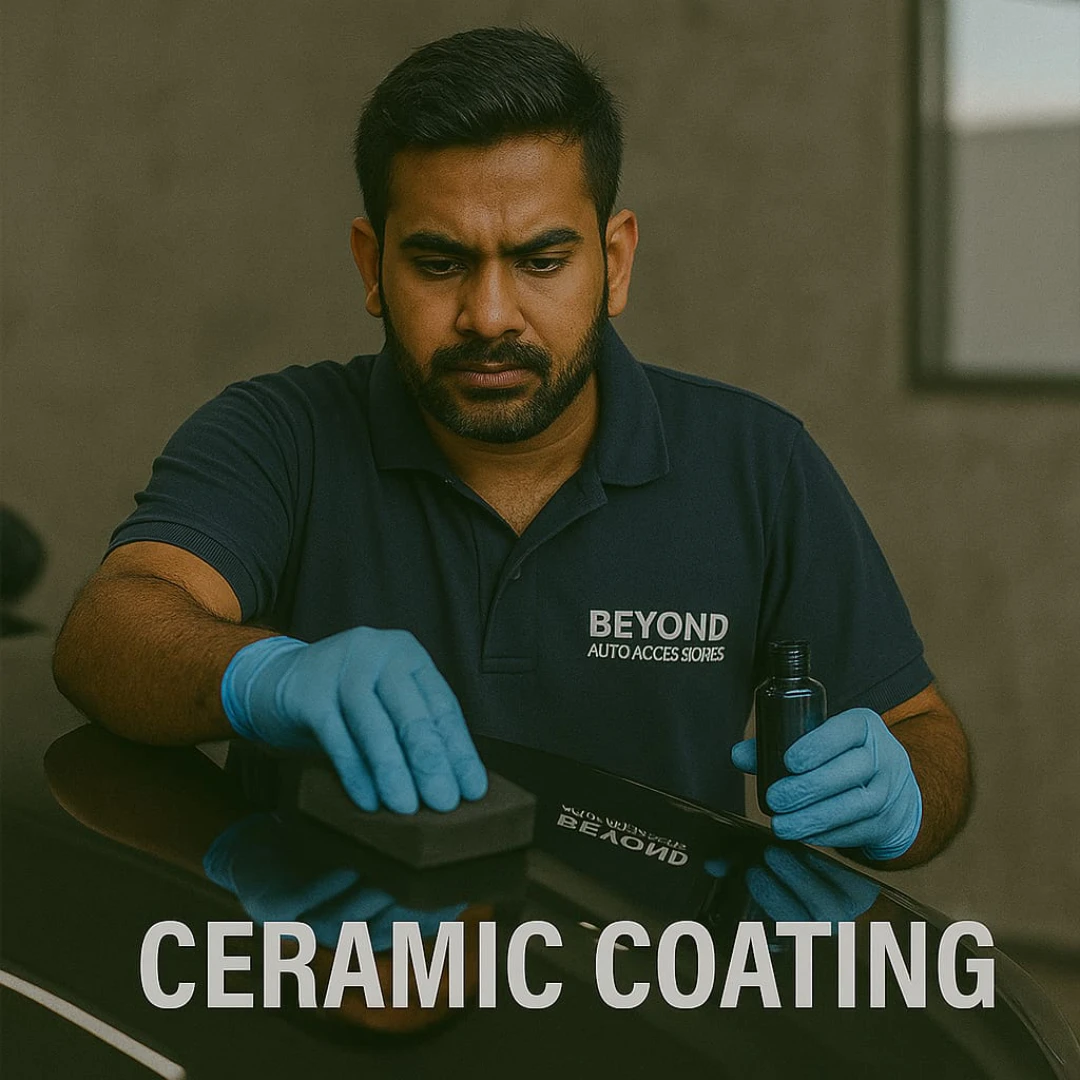 Ceramic Coating
 Upholstery Services
 Black Edition
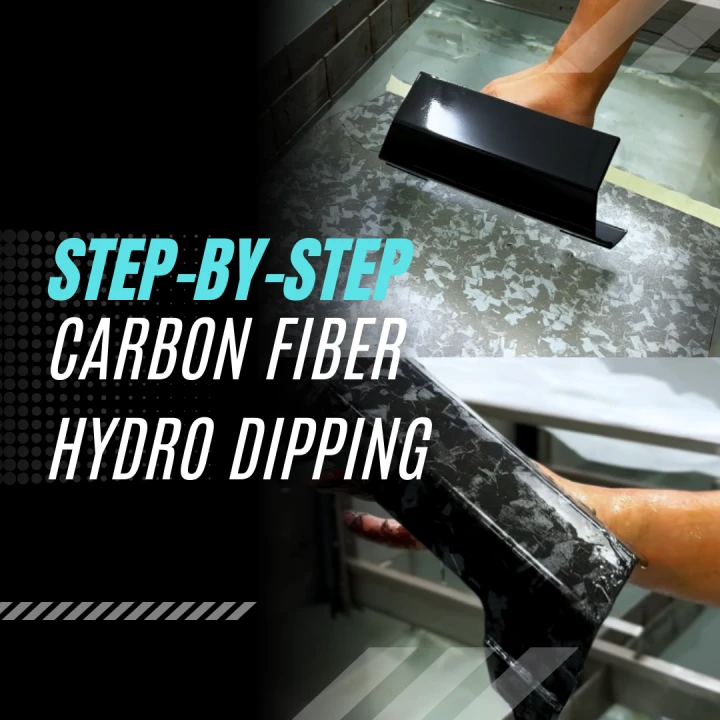
How to Carbon Fiber Hydro Dipping?
Hydro dipping is a transformative process for automotive enthusiasts seeking a custom carbon fiber look. Here’s a step-by-step guide to how Beyond Precision Auto Accessories in Dubai delivers flawless results.
Step 1: Preparation
- Disassemble the target part from the vehicle.
- Clean thoroughly to remove oils, dust, and contaminants.
- Sand lightly to promote adhesion.
Step 2: Base Coat Application
- Apply a high-quality primer and let it cure.
- Spray on a base coat (usually black or dark grey) to enhance the carbon fiber pattern.
Step 3: Film Activation
- Cut the carbon fiber hydrographic film to fit the part.
- Float the film on a temperature-controlled water surface.
- Spray an activator to dissolve the film into a liquid pattern.
Step 4: Dipping Process
- Gently dip the part at a controlled angle, allowing the pattern to wrap seamlessly.
- Rinse off excess residue with clean water.
Step 5: Drying and Inspection
- Let the part dry completely.
- Inspect for any imperfections or missed spots.
Step 6: Protective Clear Coat
- Apply a UV-resistant clear coat for durability and shine.
- Allow to cure in a dust-free environment.
Maintenance Tips
- Clean with non-abrasive, pH-neutral cleaners.
- Avoid harsh chemicals or abrasive sponges.
- Periodically inspect for chips or scratches and address promptly.
Common Mistakes to Avoid
- Skipping proper cleaning and prep.
- Rushing the drying or curing stages.
- Using low-quality films or clear coats.